
Flashvim support synchronize Personal data with WebDAV.
This article show how to enable WebDAV for Flashvim.
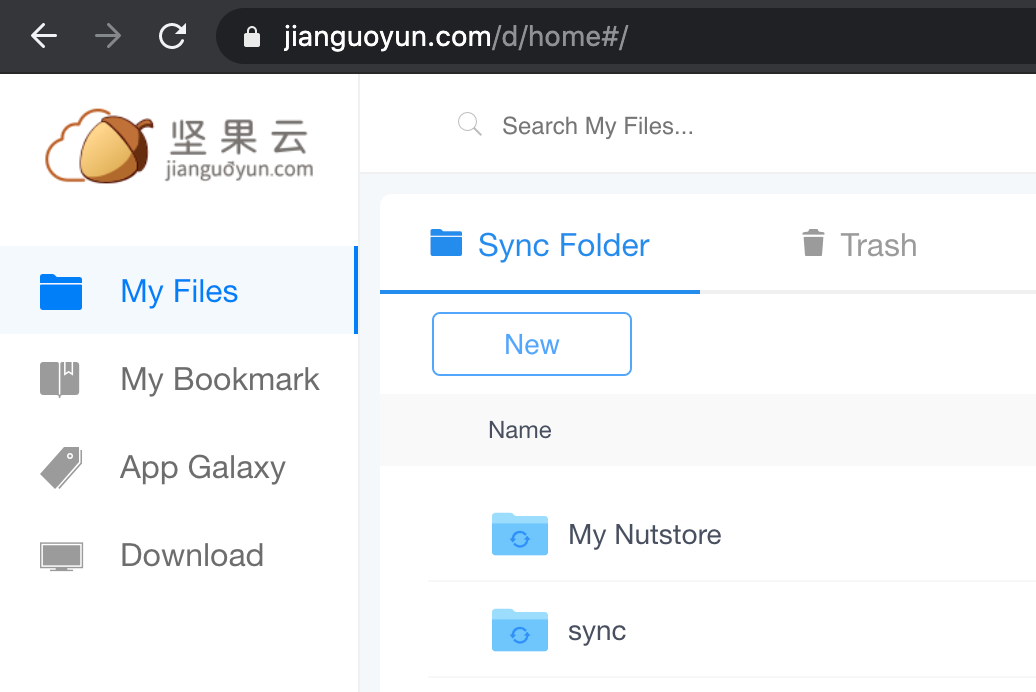
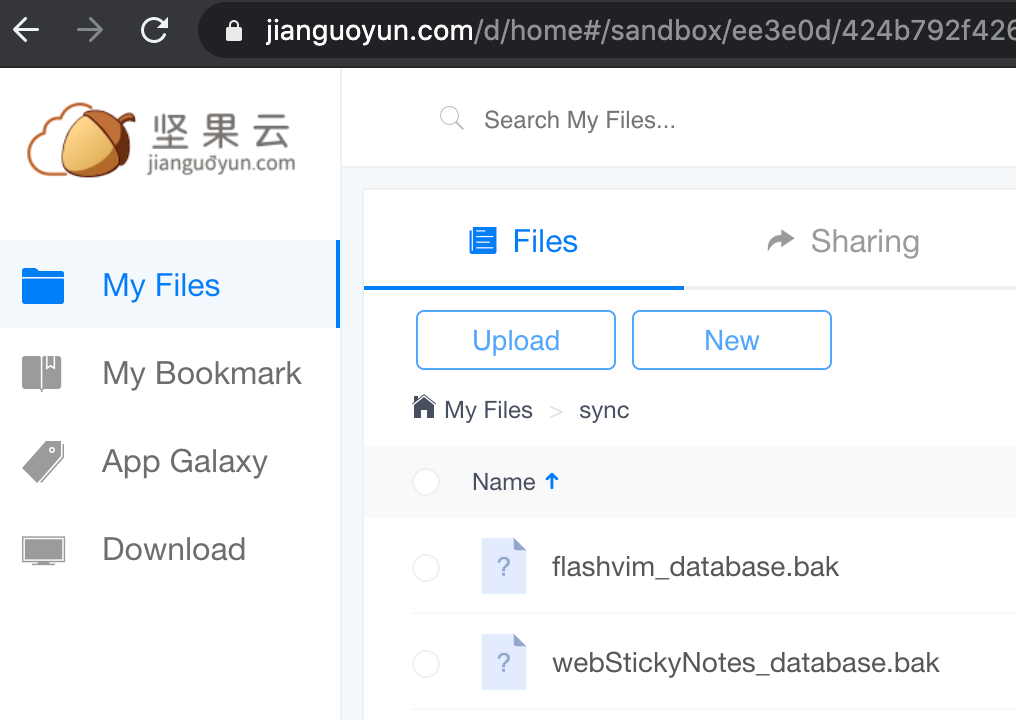
Open Website https://www.jianguoyun.com/ and register a free account, then login in.
After login in, you can create a new fold, named as ‘sync‘.
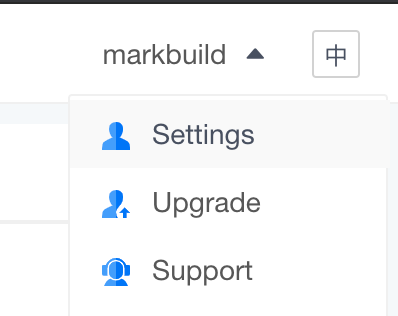
Go to Setting(Top Right drop down menu) > Security
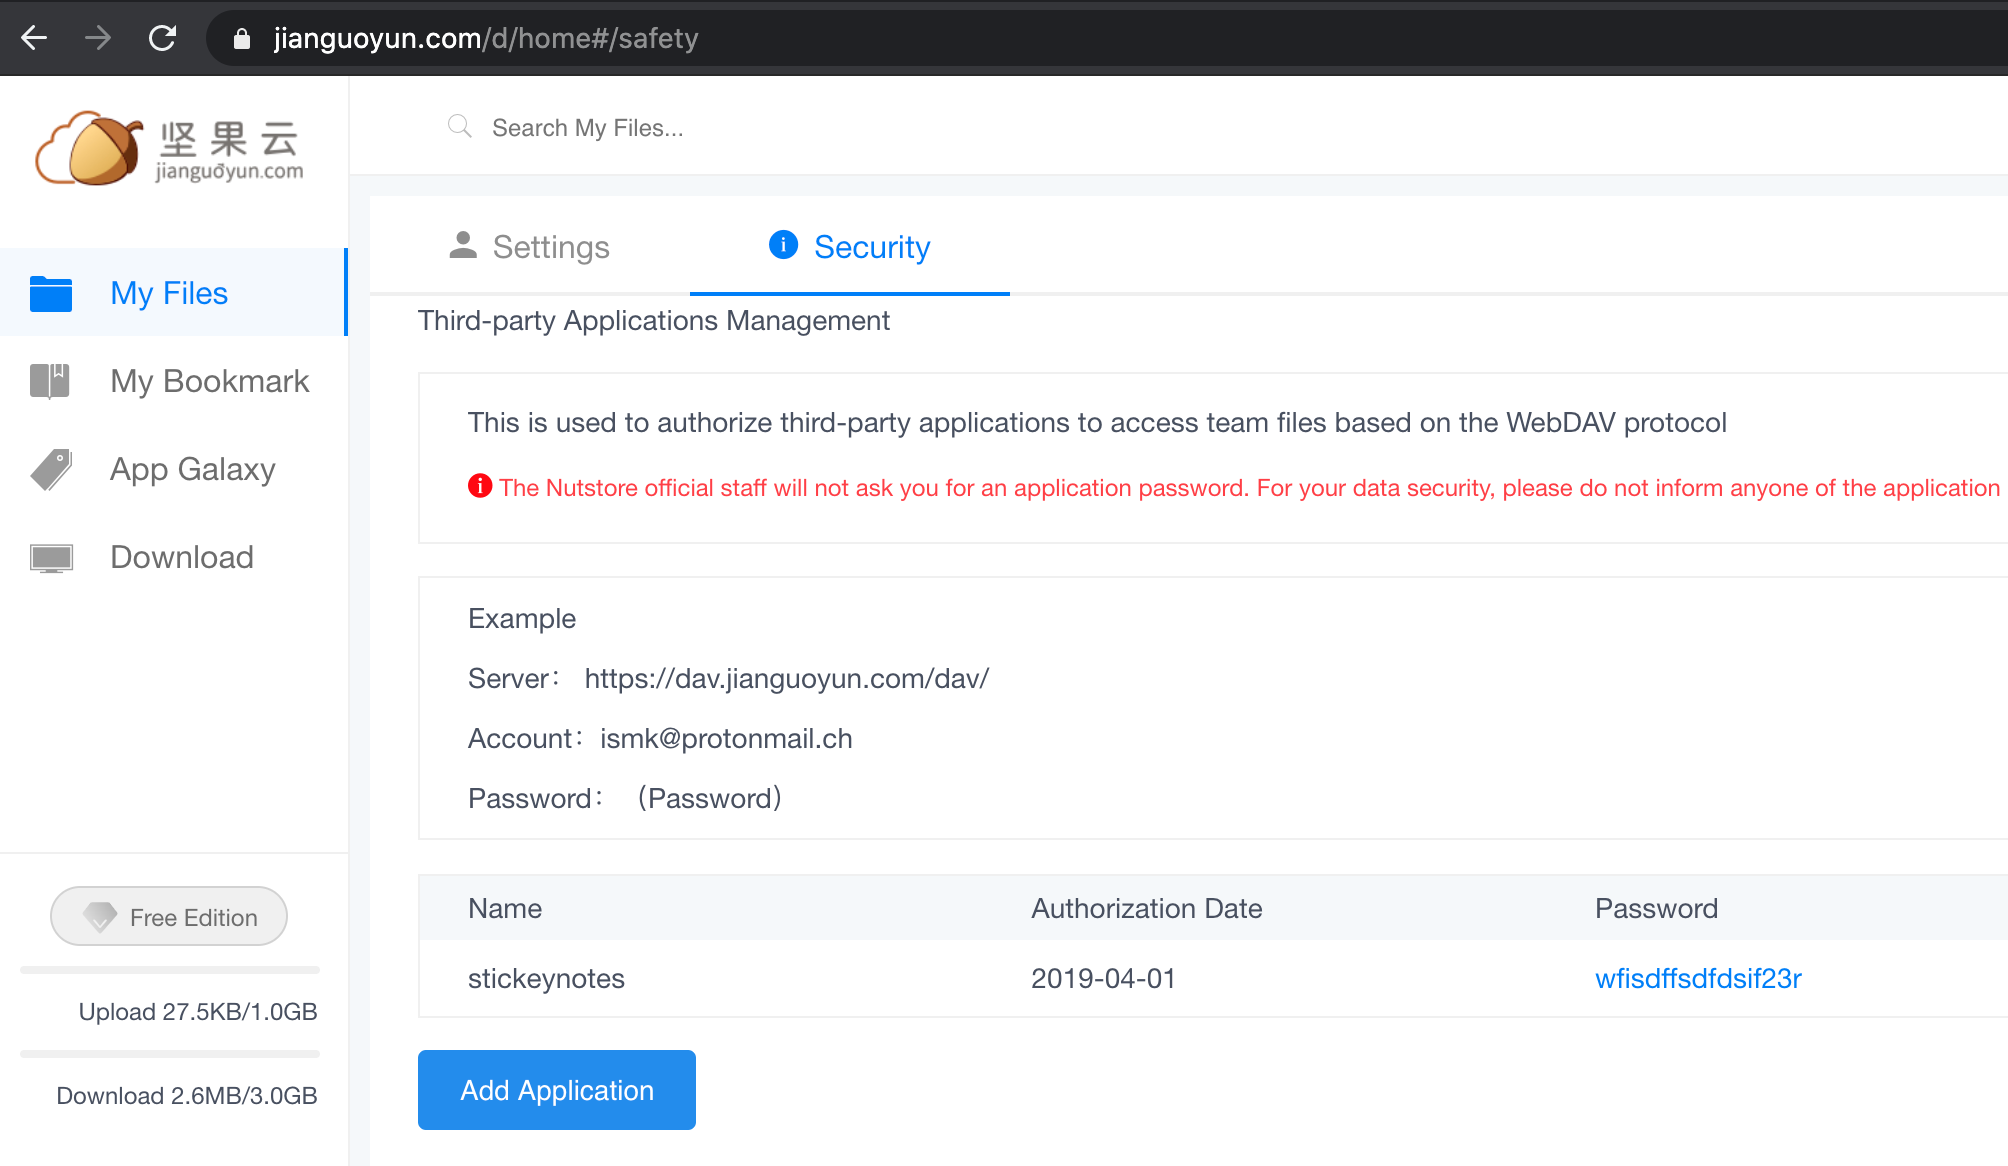
Add a new Application and generate an application password, such as ‘wfisdffsdfdsif23r‘.
Put the webDav URL, such as ‘https://dav.jianguoyun.com/dav/sync/flashvim_database.bak‘, put the Username and application password – ‘wfisdffsdfdsif23r‘. then click Save and Fetch. It will save this configure information to your browser localstorage, and fetch the flashvim_database.bak from jianguoyun by WebDAV protocol, but this file not exist by now.
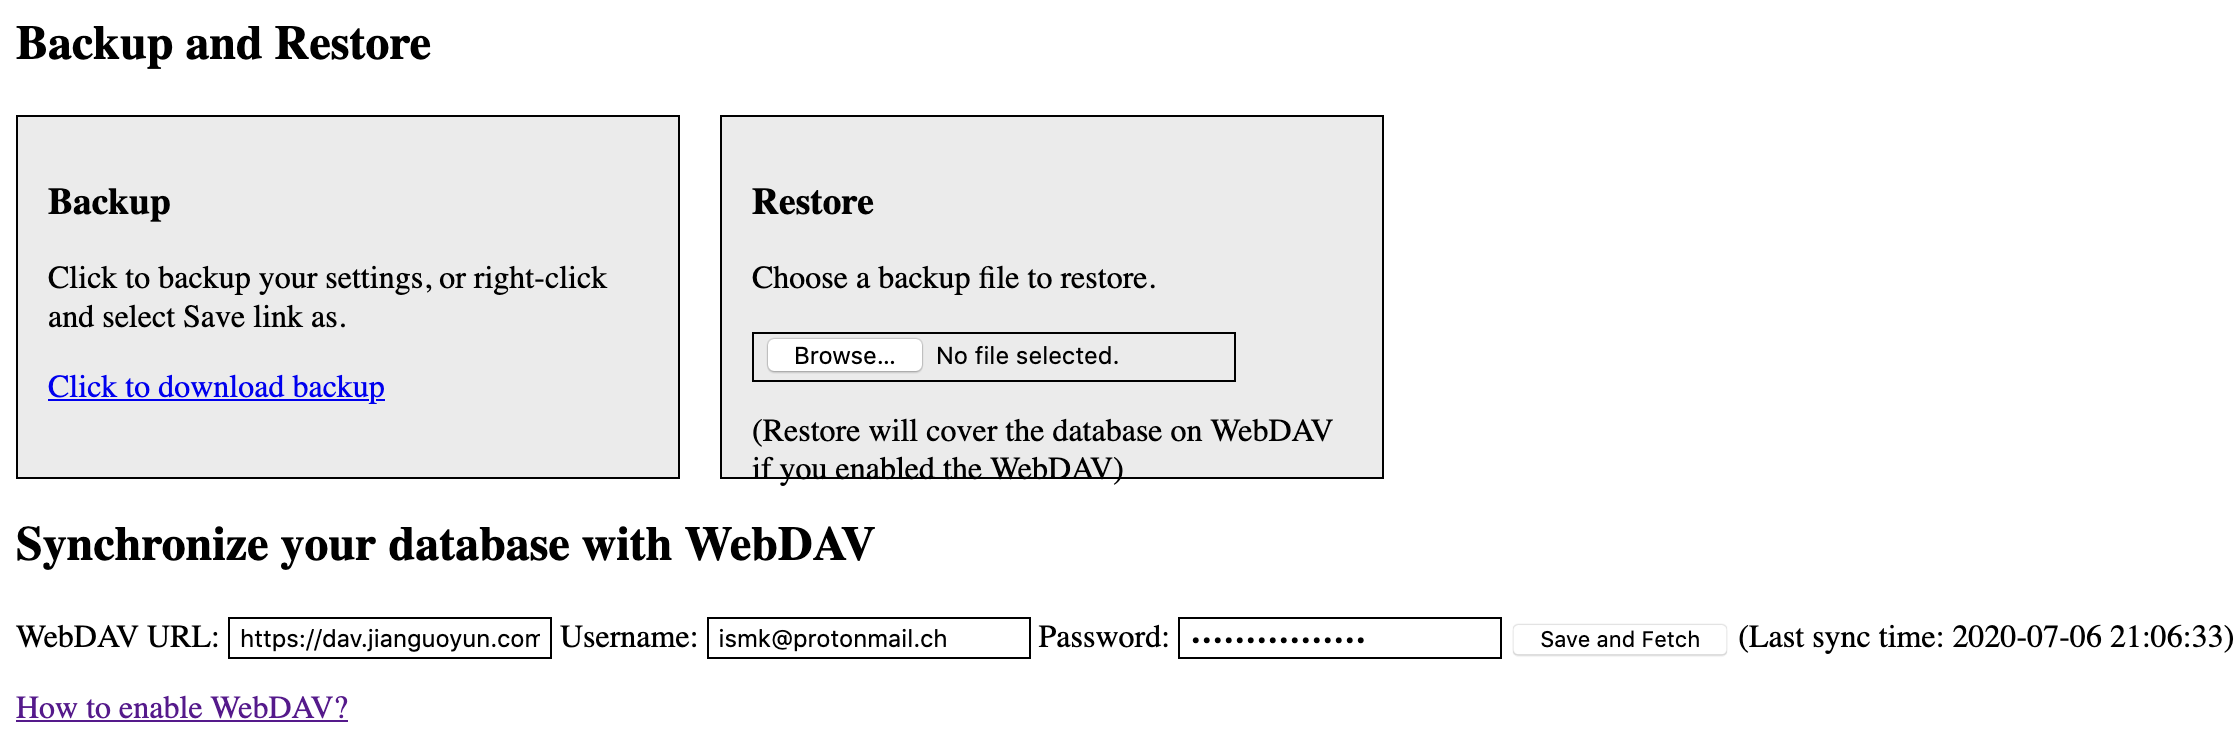
When you click save button below, it will synchronize the config data to your webDAV cloud – jianguoyun.
Then you can see the file ‘flashvim_database.bak‘ created in the webDAV cloud.
About Flashvim, click here